Automatic Arduino Powered Pet Feeder 6 Steps with Pictures Circuit Diagram Main Pi Menu -> Preferences -> Raspberry Pi Configuration Once the Configuration window is open, you need to enable the camera, SPI, I2C, and Remote GPIO settings. Enable the marked settings Written Instructions:https://drive.google.com/open?id=12b4Bzq5u67sQ7vvfZI9Wh92H_r2RVhh2vrMzNrYyuPcThis video details the steps (and code) needed to build an This way, you can create your own pet feeder at home for free. Don't worry, I have shared the necessary STL files below: Download 3D STL Files. Let's Load the Codes onto Our Raspberry Pi. You can easily load the codes I will share below from BricksIDE or any application that supports Raspberry Pi. If you don't know how to do it, you can read
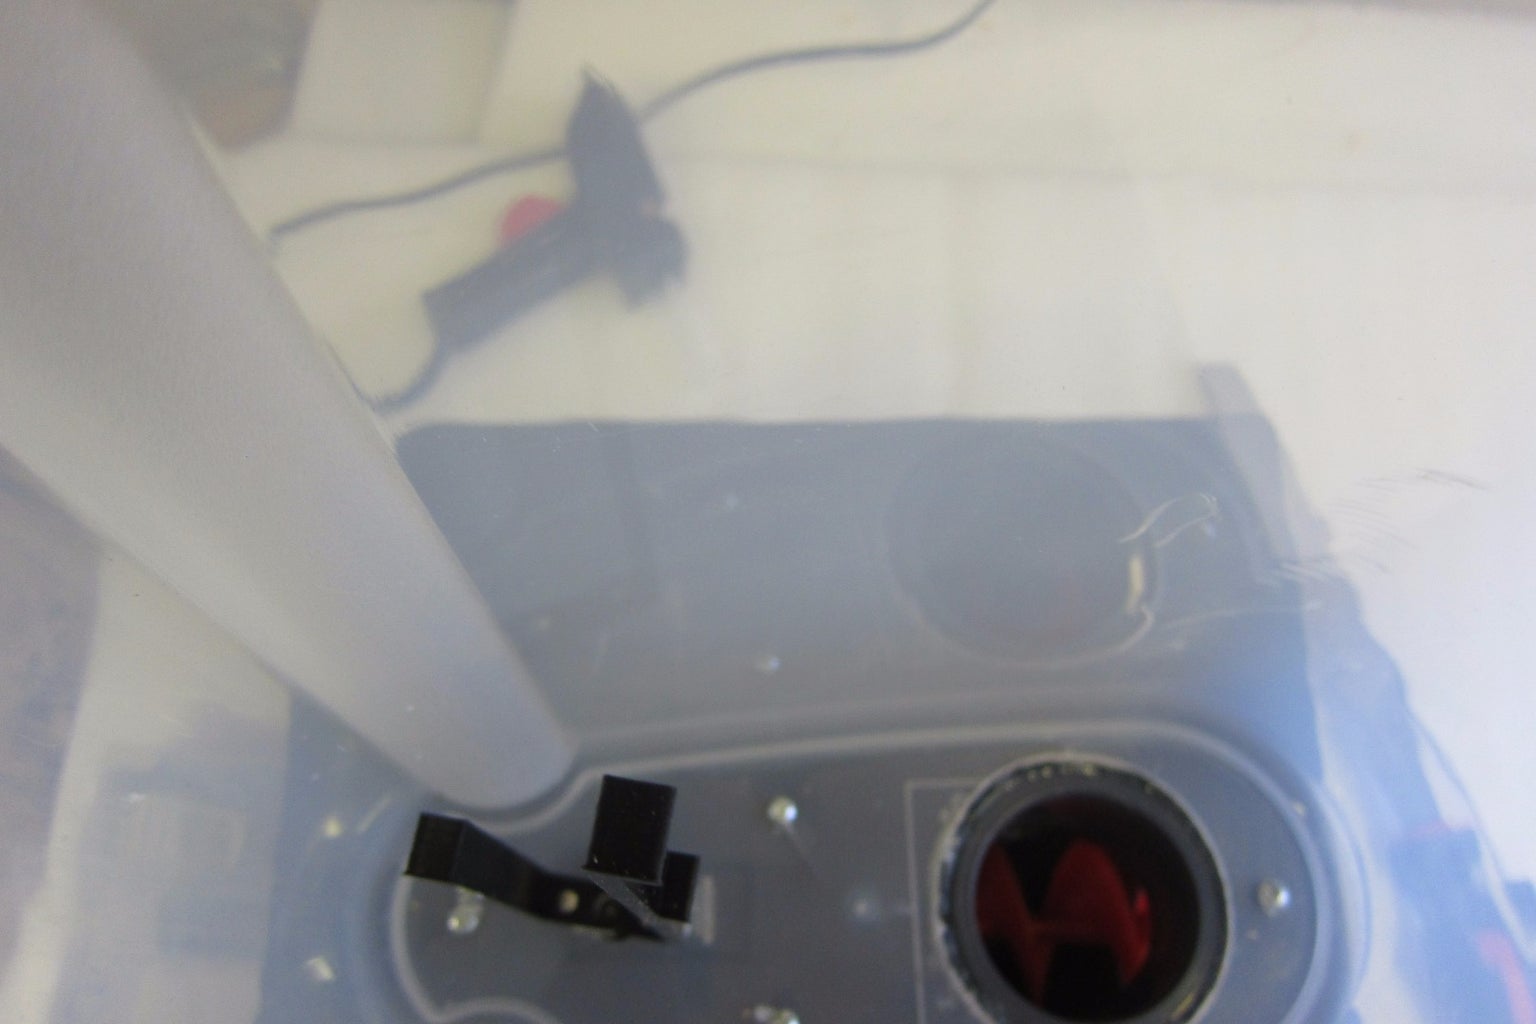
Automatic Pet Feeder I've dabbled a little in a few simple Pi projects that were mostly cut and paste before but this was my first full blown project that I had to figure out how to code for. The feeder was designed to dispense food three times a day at specific times and after each feeding it will email me a picture to make sure the food is The switches provide controls to operate the feeder. There are two pushbutton switches in this design. One for controlling the feed motor. The other to reset the feed timer. First connect the cobbler to the Raspberry Pi using the ribbon cable. Take care to orient the red line on the cable to the corner of the Raspberry Pi Now that everything is programmed, it's time to make a case.To make mine, I used 3D printing techniques. First, I made a sketches, then I made it on the computer. It took about 75 hours to print the entire case. As you can see on the picture, in the tank for food I decided to make a screw to transport food to the bowl. In the second tank, for water, I made 2 holes.

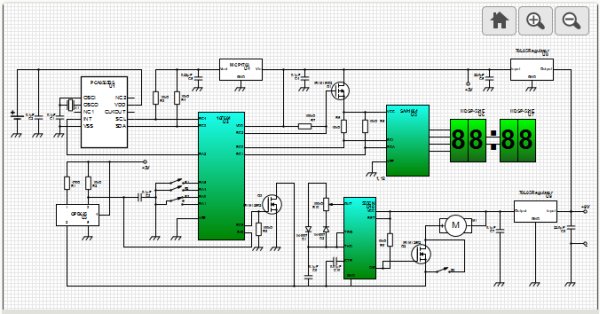
Raspberry Pi Powered Automatic Pet Feeder Circuit Diagram
This project is an automatic pet feeding system using NXP Semiconductors' PCA8565. The PCA8565 is a CMOS1 real time clock and calendar optimized for low Projects List Menu Toggle. Projects List; Raspberry Pi Hat Projects; Raspberry Pi Projects by Application; Raspberry Pi 4 Projects; Raspberry Pi Pico Projects; Solar Powered Raspberry Pi Mount your Raspberry Pi to the side of the main body of your pet feeder using the provided mounting screw holes. Connect your power source to the Pi through the side hole. Mount your webcam to the front of your pet feeder. Connect the USB cable to your Pi. Insert the 3D printed stepper motor wheel into your pet feeder. We are excited to introduce a game-changing solution that will revolutionize the way you take care of your pets. With the power of Raspberry Pi, we have developed an innovative system for automating pet care tasks, starting with an automated cat feeder. Imagine being able to feed your cats with just a simple email.